
Why do we need a prototype and how to create it with Framer

The famous designer, Michael Bierut, once wrote in his book ( which has a very long title) : “When I graduated from design school, I thought that a great idea should sell itself. Not true.” I believe you have already learned it and will continue learning it every day if you are working as a designer.
As designers, we have the expertise and could make things according to the requirements. However, since we are so used to our training and most time surrounded by other designers, we very often forget that our works are not that obviously great to product managers, developers, and other stakeholders. That’s why we have to not only make things but also promote them, justify them, and make sure they will be properly implemented. Communication is part of the designers’ job, maybe as important as the design itself.
Among all the communication tools, prototyping is one of my favorites. It has many advantages:
Easy to create. The prototype is not the end product. So it doesn’t have to (and shouldn’t) be perfect. You can create a prototype with pencil and paper.
Interactive. Although we have the end product in mind while designing, it’s still different from interacting with a real prototype. Many problems are so obvious when you see the prototype, but such problems can be ignored in static assets.
Ready for testing. You can invite stakeholders to click through the prototype to validate the user flow and improve the interaction design in the very early phase before starting visual design. By doing that we can also win stakeholders’ buy-in because they are involved in the entire process and will have more ownership.
Show, and tell. When presenting your idea and design, it’s better to show something works, even if it only works as pre-defined — the prototype could work perfectly if you are the only one who can touch it.
Clarify animations and transitions to developers. Have you tried to tell developers the parallax effect you want? The language is not an efficient tool to describe visual things. If you want to apply some fancy animations and transitions to your products, it’s better to visualize them by yourself and it will clarify itself.
A prototype can have all the functions that the end product has, but it could be very flexible as well. You could create a prototype to clarify the hover state of the button if it’s necessary. Remember, prototyping is a tool to communicate. Don’t feel embarrassed if your prototype is not pretty enough as long as it helps you clarify the design or get feedback.
In my experience, there are some general rules when prototyping:
A prototype should be as simple as possible. So you don’t have to spend much effort on it. The goal is to design a good product, not a good prototype.
A prototype should be as detailed as possible. Keep it simple, but create enough details when it’s necessary, for example, when you want to show the animations to developers.
A prototype should suit the scenario. A paper prototype works well if you’re exploring ideas with other designers. But you might want a fancy interactive prototype if you’re going to present the design to important stakeholders. (Tip: Just like children, adults also love fancy things.)
Balance between the three rules every time you create a prototype.
Introducing to Framer
I’ve tried lots of prototyping tools including InVision and Axure. They work well if you want to link the pages or create some basic logic in the flow. However, you can’t control the details with all these tools, especially when you’re creating transitions and animations. I kept searching better prototyping tools and was delighted when I saw Framer.
Framer is a prototyping tool powered by React. Like InVision and Axure, Framer has all the basic prototyping functions. You can link the pages, create a pop up, share your prototype, etc. Besides that, you can create also fluid animations easily, which is impossible with other tools. And you can really control every detail of your prototype if you don’t mind learning some React.
In this article, I won’t introduce the basic functions and layout of Framer, because there are already lots of tutorials on the official website. And I believe you can learn Framer quickly by exploring it yourself. Here I just want to show you an example and explain how it could be done in Framer.
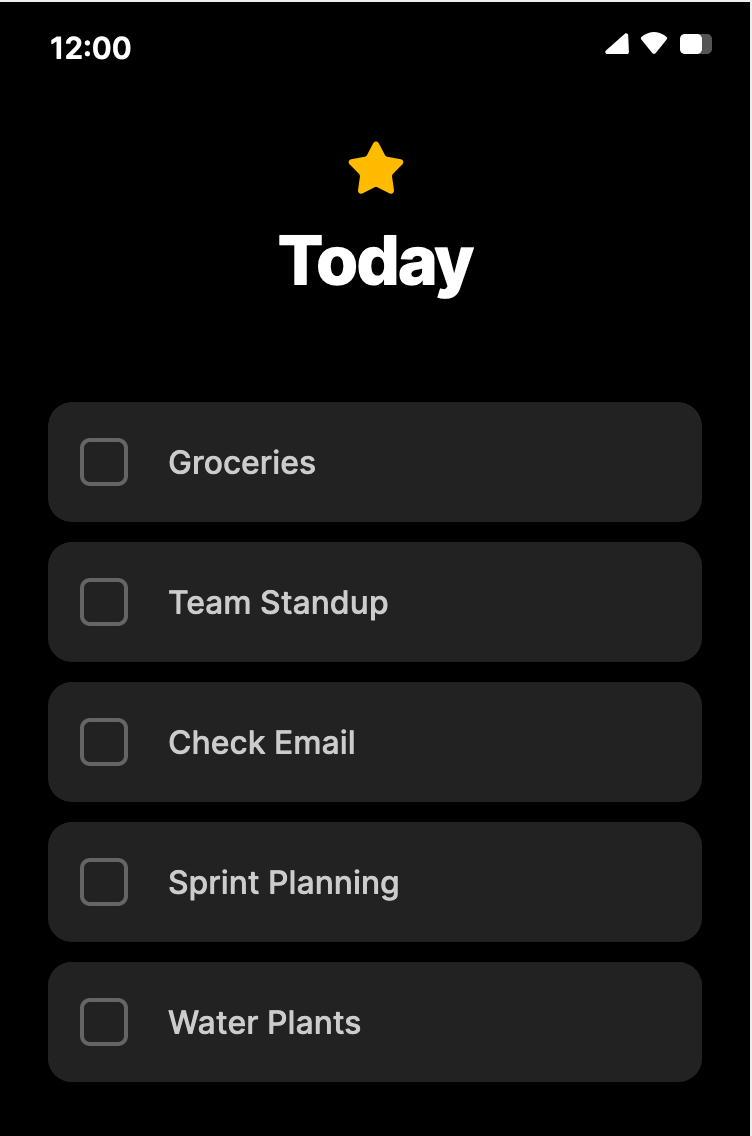
Let’s say you want to create a prototype of a to-do list like this:
After analyzing the idea, we can break down the prototype to several steps:
Show the to-do list with no option selected.
The first option is selected after being clicked.
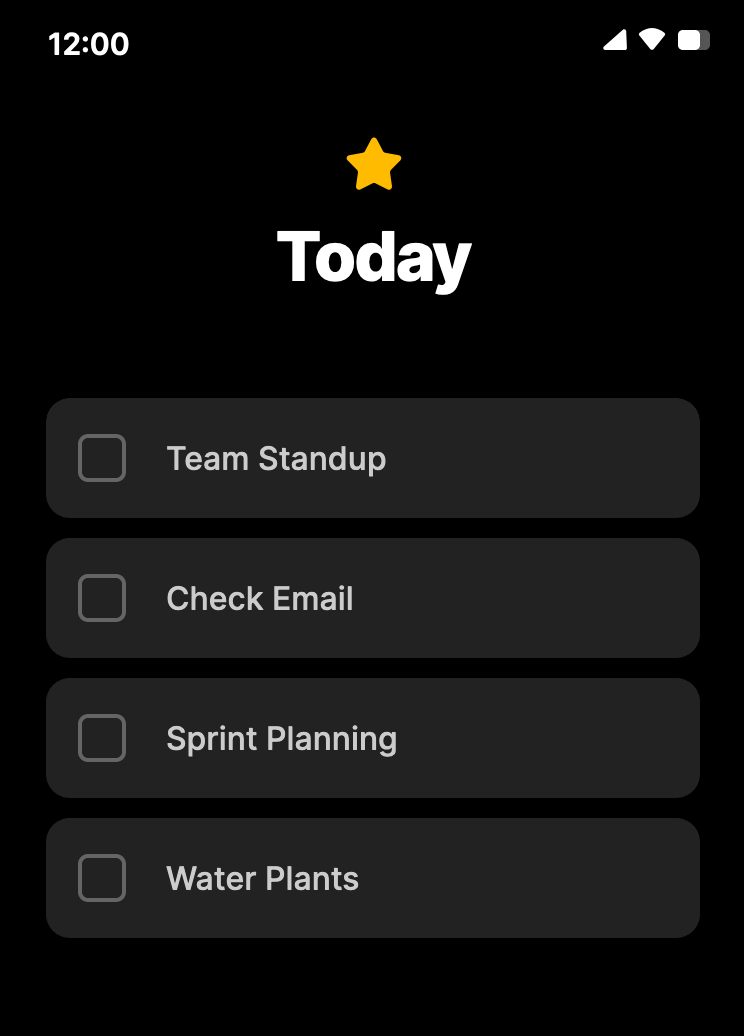
The selected option disappears after 0.5 seconds.
If we’re programming the product, we have to think about how to deal with the first option, how to remove it after selecting, how to make the function reusable, etc. Luckily we’re now creating a prototype, so we can do it quick and dirty — only dirty for you but still fancy to the viewers.
Instead of focusing on option level, we could simply use 3 screens for the prototype. First screen is the to-do list. Second screen is the list with the first options selected. Third screen is the list with one option less.

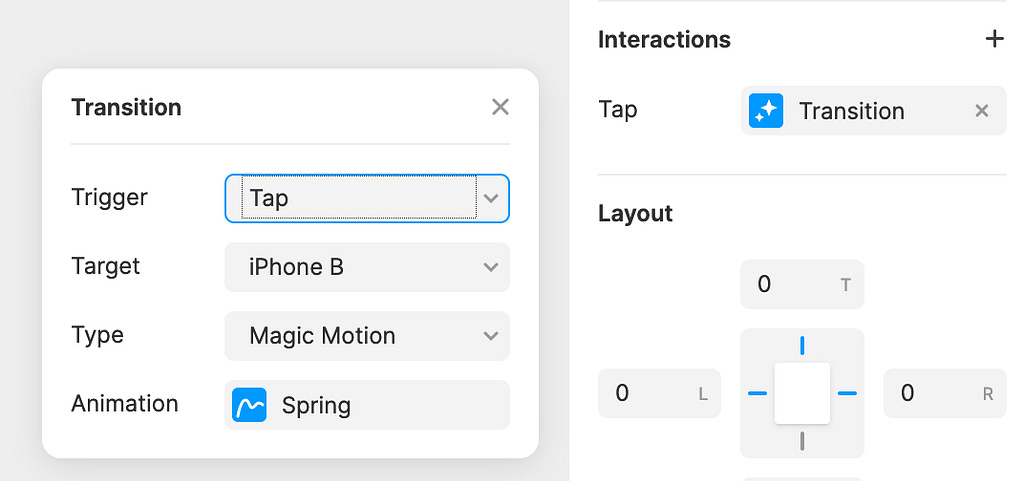
Now we can link the pages in Framer. Just select the first option in the first screen and create an interaction. Thanks to the Magic Motion feature, the animation will be automatically added:
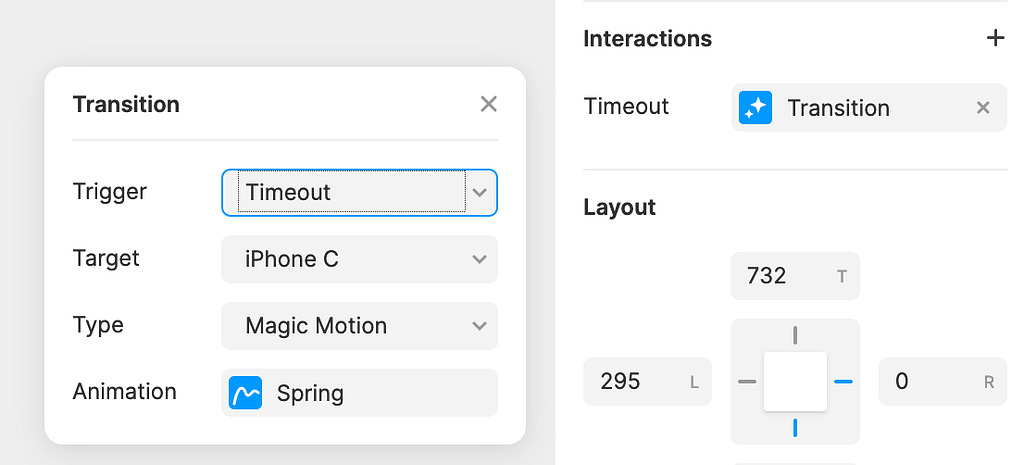
The transition between the second and third screen is a little bit complicated. The selected option will disappear after 0.5 seconds, so we have to use a timeout event instead of a normal interaction.
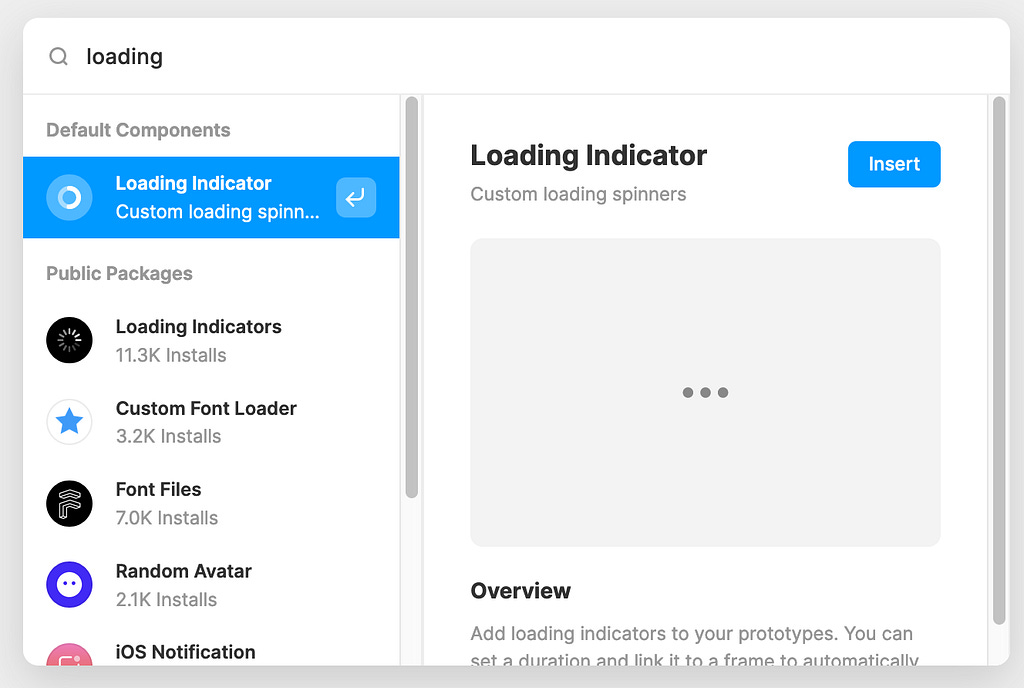
There are lots of packaged ready-to-use components in Framer. We can just insert them into our project from the library. In this example we need the loading component which has a timeout event:
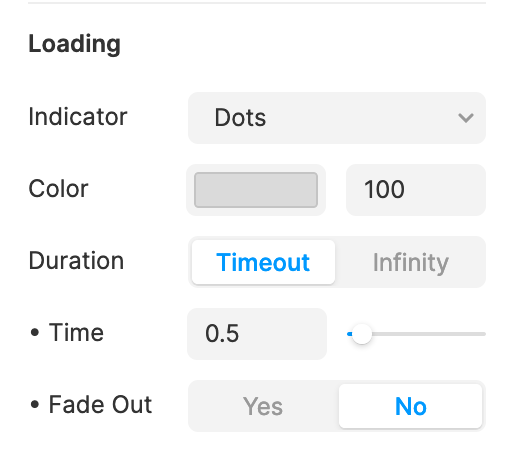
Then we can configure it and make it invisible by changing the opacity to 0:
After that we can create a timeout interaction for the loading component to achieve the transition:
Now it’s done! You can see it online:
https://framer.com/share/To-Do-Example-zYWzmdiyx4WW2Yd4SYS3/Yl2dHOgov
If you want to learn more about Framer, check the official examples. Trust me, you will be excited of what you can do without coding skills.