Create better reusable symbols in Sketch using smart layout and resizing
Sketch is a widely used tool for UI designs. It implemented the atomic design methodology and made the workflow of UI design much more efficient. You can create a Symbol in Sketch and use it everywhere in your design, which gives you a great advantage to keep “a single source of truth. “
However, it’s painful to create a slightly complex Symbol before Sketch introduced the Smart Layout and Resizing features. All Sketch users experienced how the contents inside a symbol were stretched not as intended and had to “detach” it. In this article, I want to share my experience of creating better Symbols to gain more flexibility and reduce the detaching.
Introducing Smart Layout
Smart Layout is a feature introduced in Sketch 58. You can select the Layout when you create a Symbol. Smart Layout gives you more possibility to customize the Symbols for different Scenarios.
Let’s take a navigation menu for example. First, I created a simple Symbol called “Menu item” and then used it in another “Menu” Symbol:
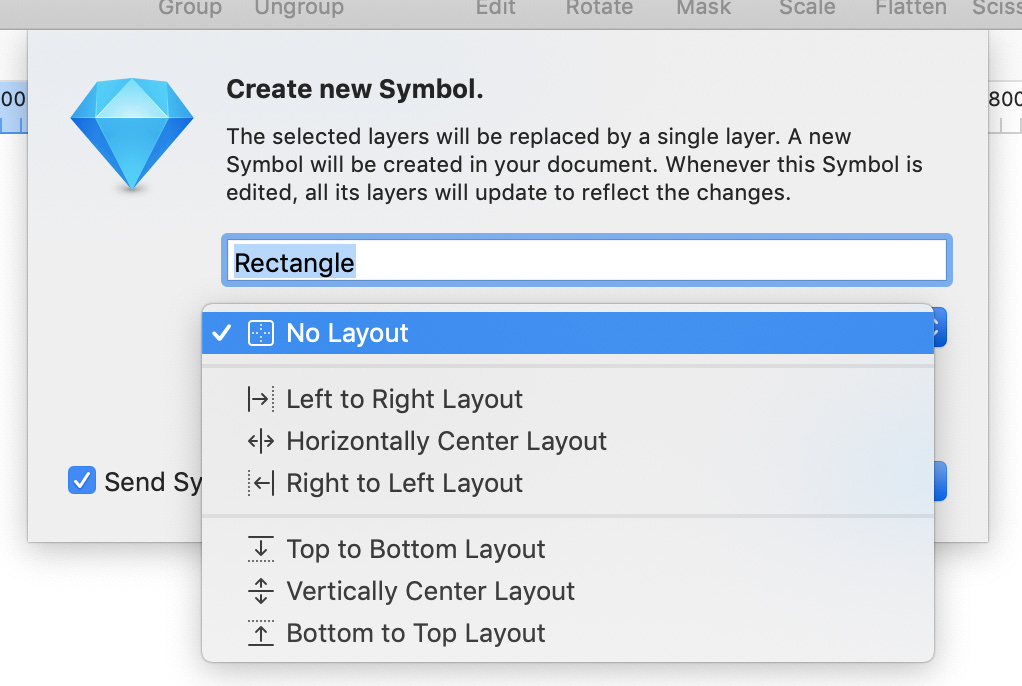
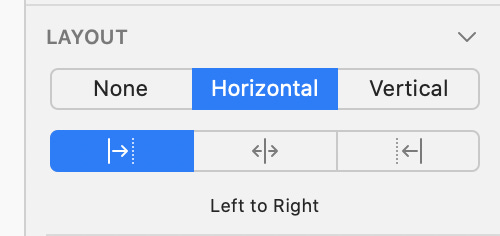
For the “Menu” Symbol I applied the horizontal “Left to Right Layout”:
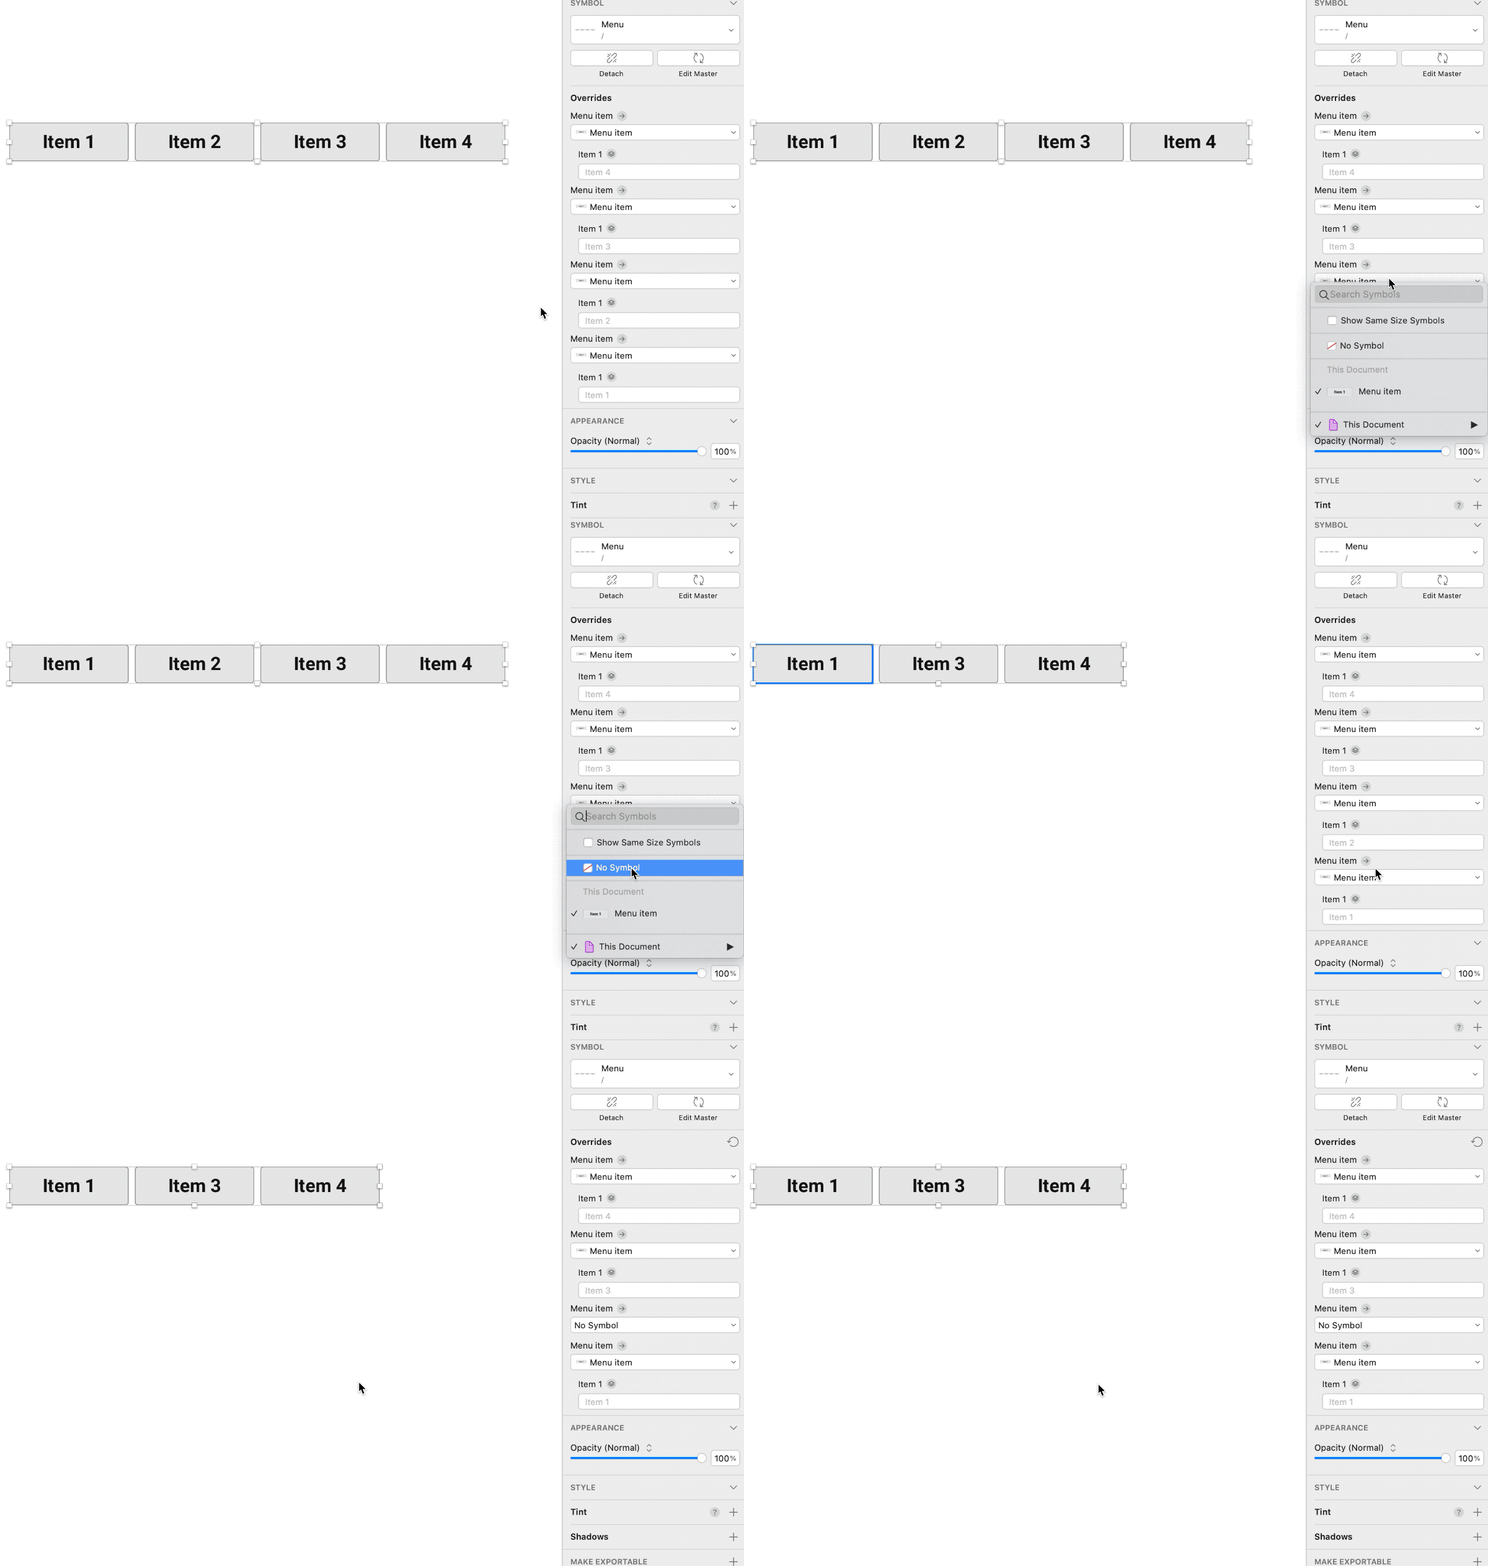
When I use the “Menu” Symbol in the page design, I can easily hide one element in it and the following elements will be automatically “pulled”:
It’s often that different pages on the same website have different navigation items. With Smart Layout you can design a menu with all possible items and hide the unnecessary ones in different scenarios.
To learn more about Smart Layout, you can visit this page on Sketch’s website.
Introducing Resizing
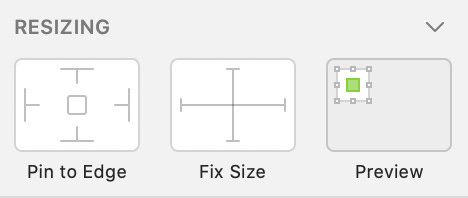
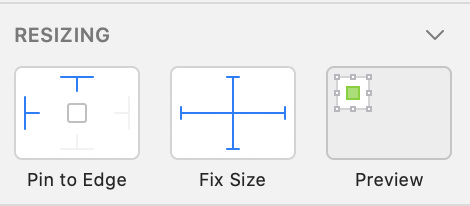
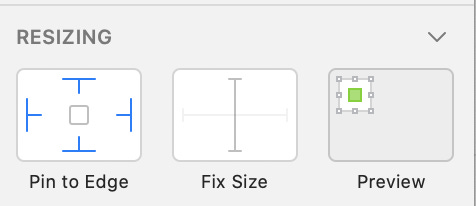
Resizing is a feature to control the positioning and stretching of the element when its parent (a Symbol or a Group) get resized. There are two options: “Pin to Edge” and “Fix Size”:
With these two options you can make an element stay in its position or keep its size while its parent element get stretched.
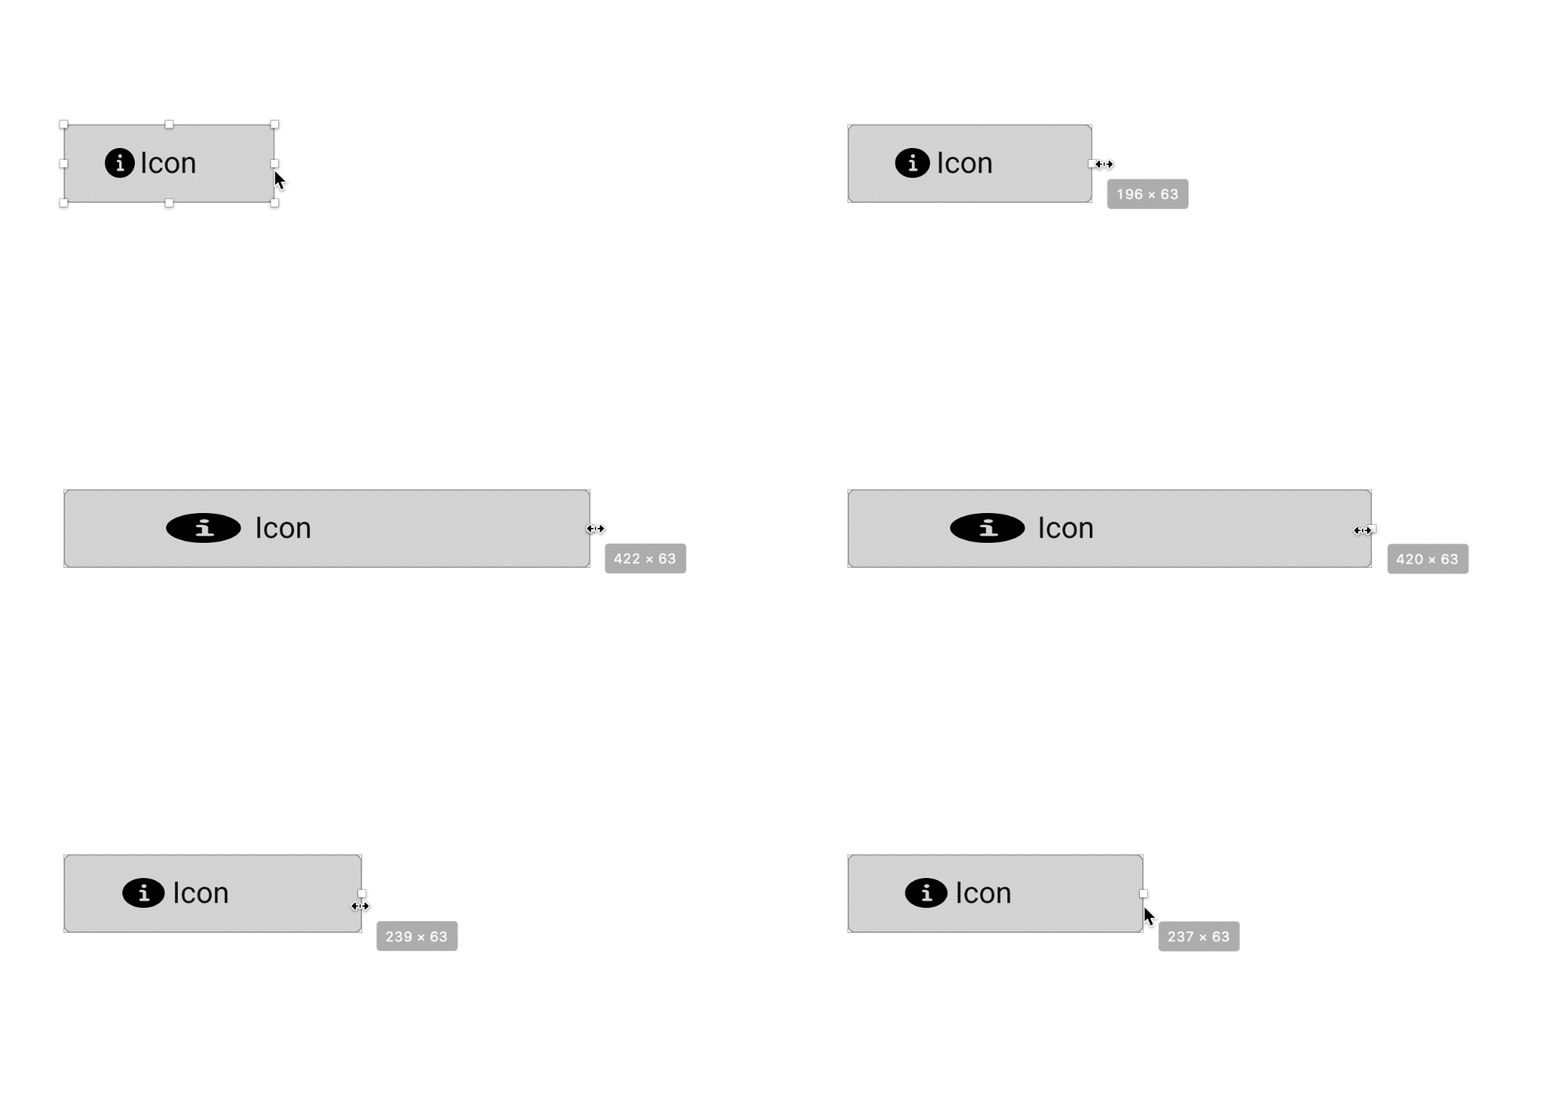
Let’s say you have a simple button with an icon. The icon will be resized according to the button if you don’t set up the Resizing:
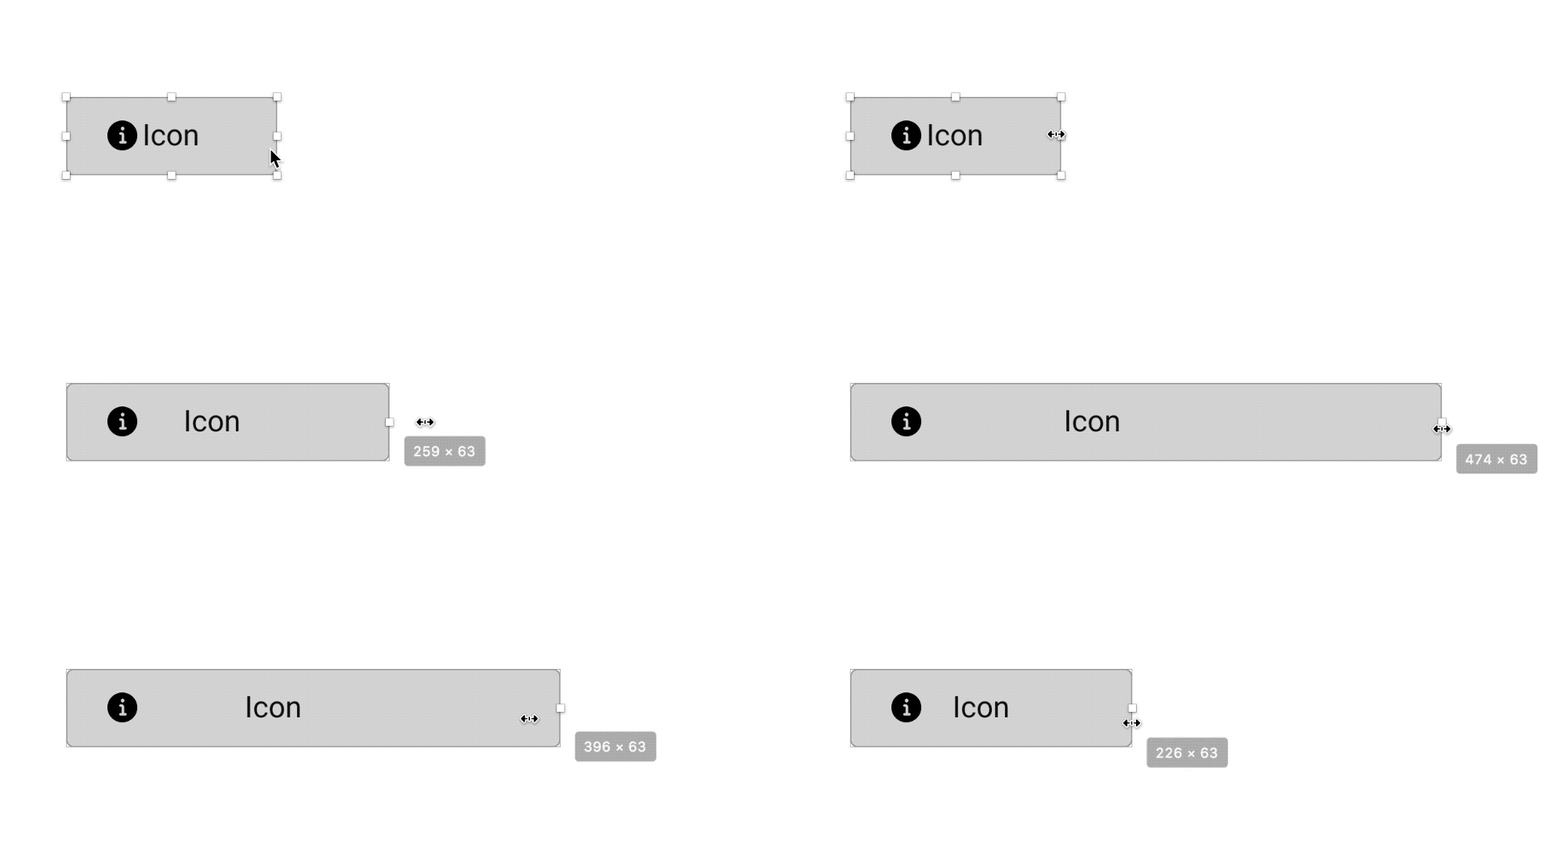
To fix this we can make the icon pin to top-left and keep its size:
Here is the result:
Combining Smart Layout and Resizing
Smart Layout plus Resizing can help you create powerful and configurable components and dramatically ease the pain of maintaining a design system.
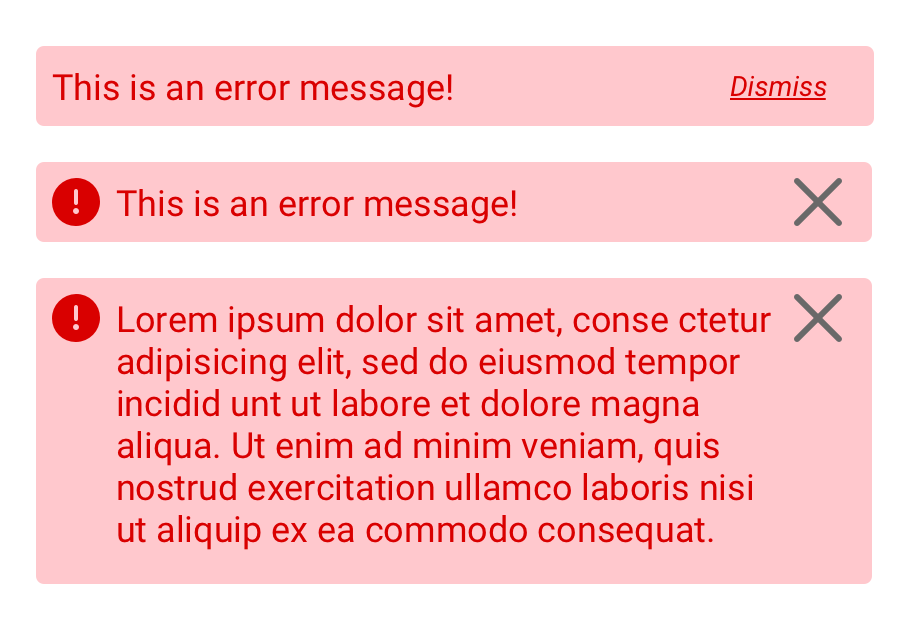
Now let’s try to create a notification component which could contain
an indicator icon, a “close” button, or a “Dismiss” link.
multiple-line text.
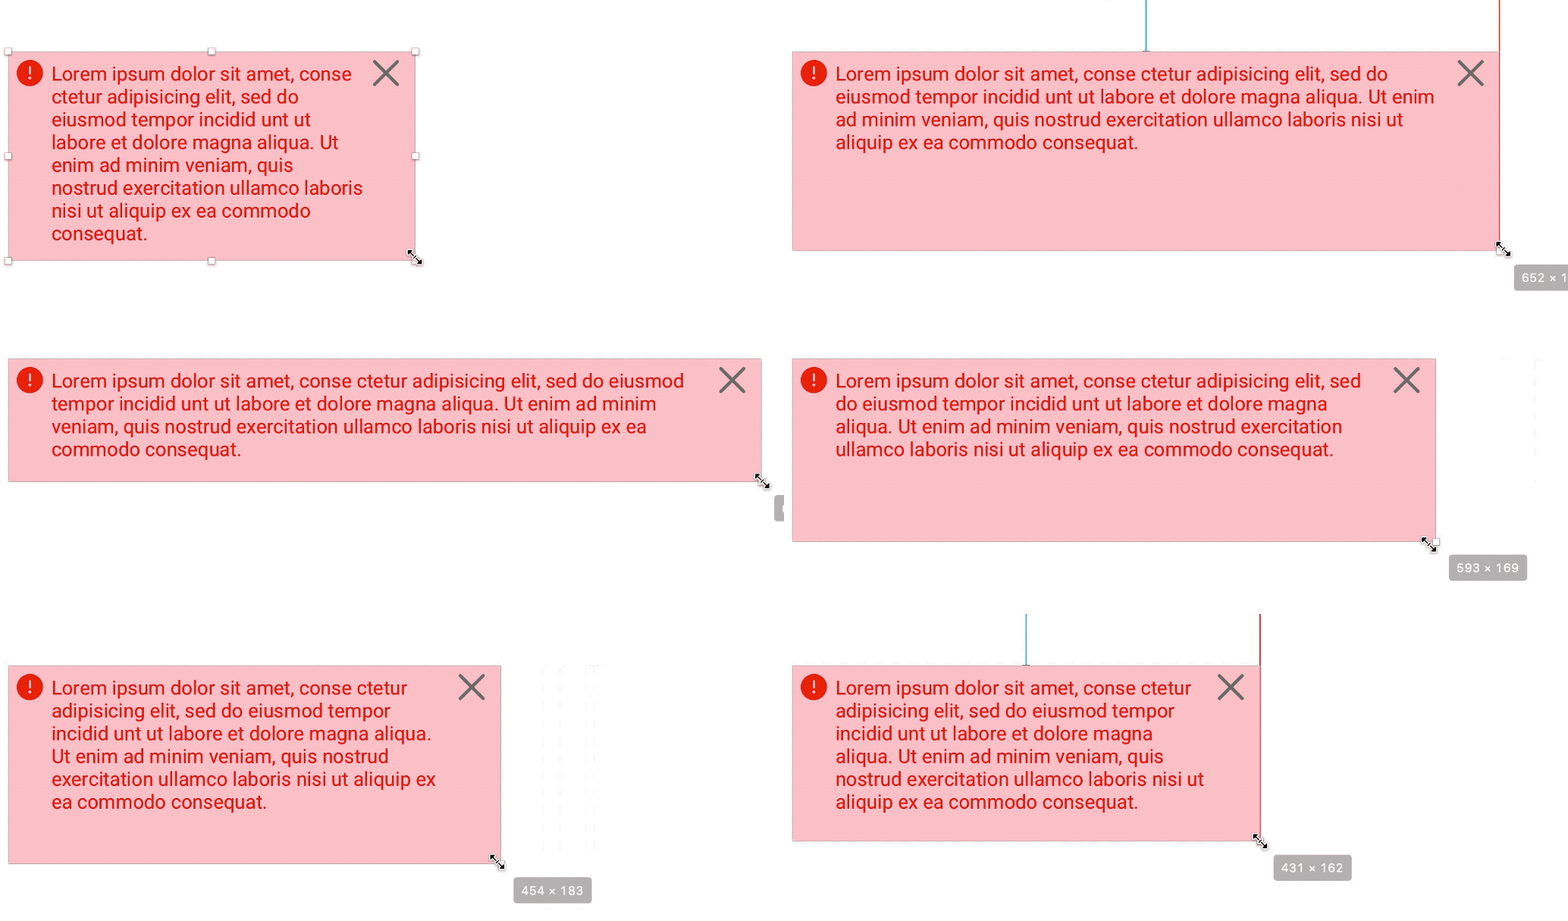
As you can see in this image:
Yes, we can do it with just one Symbol!
First, we have to create simple Symbols for the “info” button, the “close” button, and the “Dismiss” link so we can hide them if it’s necessary, because we can only hide Symbols in Sketch.
After that we can set up the Resizing for each element:
“info” button: Fixed width, Fixed height, Pin to top-left.
“close” button and “Dismiss” link: Fixed width, Fixed height, Pin to top-right
The text content part is a little bit tricky. You have to first select the “Fixed Size” in the Alignment section:
Then under Resizing unselect all “Fix Size” and make it pin to all four edges:
The whole configuration is as below:
Then you can use the symbol in the page design, hide the elements when you want to, or resize it to make a multiple-line dialog:


